sketchup 与 ArcGIS 10 的交互
许多用户在 ArcGIS 9.2 时代习惯于使用 Sketchup 插件,但是,9.2版本已经结束了他的使命,进入了退休列表,已往的交互方法不再推荐。
在 ArcGIS 10 之后不再使用这个插件,而且给了其他的思路。
如下是官方说明中的原文:
What is the recommended workflow between SketchUp and ArcGIS?
The ArcGIS SketchUp plug-in is no longer supported at ArcGIS 10. The recommended workflow is now as follows:
- Digitize in your polygon.
- Extrude it by an attribute in 3D.
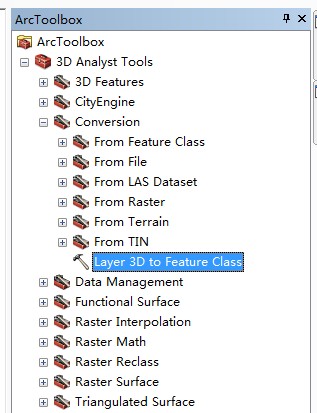
- Convert it to a multipatch using Layer 3D to Feature Class.
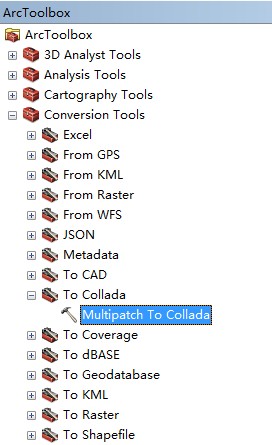
- Export it to COLLADA using MPatch to COLLADA.
- Import/Edit in SketchUp (e.g., textures, pitched roof, etc.).
- Then use the edit environment to replace the mpatch feature with the new SKP model.
链接:http://www.esri.com/software/arcgis/extensions/3danalyst/technical-information/common-questions
翻译整理下,也就是说,先在ArcGIS Desktop(ArcScene 或 ArcGlobe) 环境中,将2D数据经过拉伸。
- 拉伸在图层属性中进行设置,可以根据固定值拉伸,也可以根据某一属性字段进行拉伸。
- 主要在于拉伸表达式的写法。
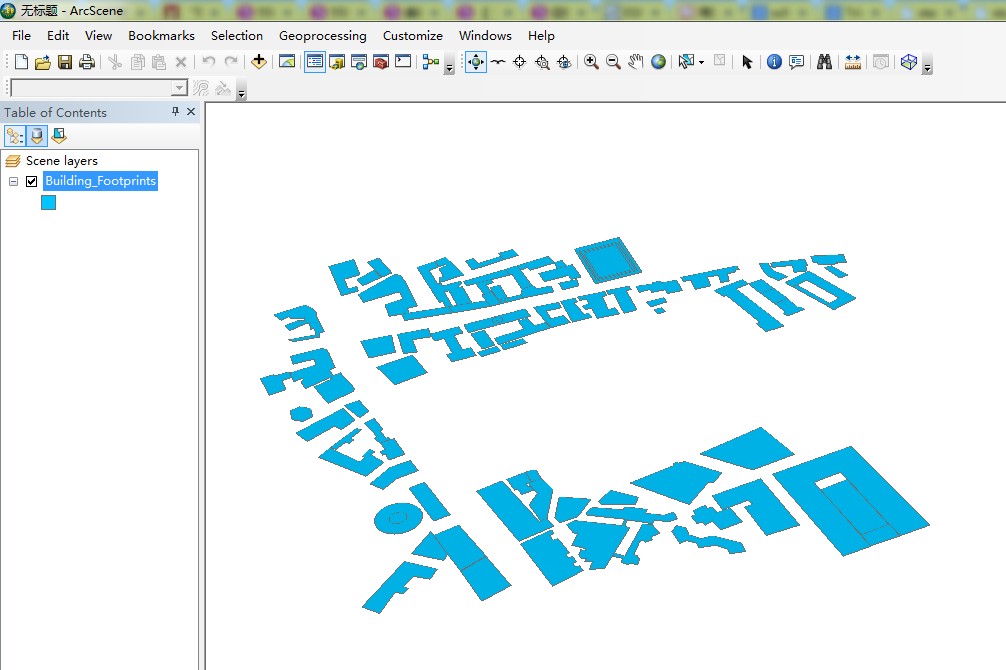

使用工具 Layer 3D to Feature Class 转出,转到 GBD 中,以 Multipatch 的形式存储。
结果从外观看起来是没有区别的,但是数据由内存中的图层,转为了数据库中的数据。
为了与Sketchup交互,将其转为 COLLADA 格式,一种开放式的3D标准数据。点这里了解COLLADA,点这里是官网。
然后将这些数据,在Sketchup中导入,进行后面的编辑。Sketchup中的操作和建模方法请参阅它的帮助文档。
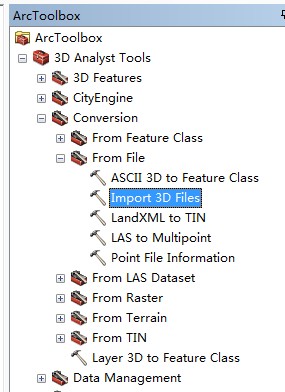
将来做好的模型,ArcGIS 仍然可以再用,使用 导入工具即可。
以上就是一个大致的流程。
如果还是习惯于老产品的用户,也仍然可以参阅已往老版本的资料,但是提醒 9.2 版本已经不支持在 Windows 7上安装了,意味着Windows也要降级。
并且使用9.2及之前的版本,在 Esri 是得不到技术支持的。强烈建议迁移到新版本。